Search
  • HOME
  • ABOUT ME
  • ARTICLES
Close
Menu
Search
Close
  • HOME
  • ABOUT ME
  • ARTICLES
Menu

Nina Knows Food

EXPLORE. EAT. DRINK. REPEAT.

November 26, 2020

My First Self-Published Cookbook!

by Nina Z


fullsizeoutput_1e9f.jpeg

2020 has been challenging, stressful, upsetting, disappointing… all the things! And in the back of my mind, in addition to the swirling thoughts of living through a global pandemic, I was wondering: when is the right time to get this cookbook out into the universe?

What a lot of us have learned this year is that maybe there is no “right” time for anything, but now felt as right as ever to share this passion project that has been a LONG time coming. After 2+ years of talking, thinking, cooking, eating, baking, re-working recipes, taking photos, and writing/assembling, it’s finally available for everyone!:

How to Adult: The Newlywed Cookbook ©

fullsizeoutput_1ea1.jpeg

This concept came to life when I made the original version of this cookbook as a wedding gift for close friends. I quickly realized that it would make a wonderful, unique off-the-registry gift for any newlyweds! One of the things I love most about food and cooking is how it brings people together - you can learn a lot about a person by the way they operate in the kitchen!

Cooking is also something that I feel many people, like my fellow millennials, either love or hate with no in-between. I want to change that! We love to joke - and complain - about everything that “adulting” requires of us, such as taking care of ourselves on a daily basis. This book’s collection of recipes was curated to demonstrate that cooking doesn’t need to be complicated or take a long time to be delicious (and healthy!).

From meal prep ideas to sweet treats, this book is a great gift for the novice who loves to follow recipes to the letter, as well as for the seasoned cook who loves to improvise.

You can buy How to Adult: The Newlywed Cookbook © here!

*Through December 31, 2020, $10 from every book purchased will be donated to Full Heart Full Bellies, an organization in the Bronx (NYC) feeding food insecure children and those impacted by COVID-19.

Comment

TAGS: cookbook, howtoadultcookbook, meal prep, healthy meals, weekdaymeals, cooking


January 5, 2020

PB&J Baked Oatmeal

by Nina Z


IMG-1706.jpg
IMG-1706.jpg
IMG-1697.jpg

I don’t like going out for brunch, but I love to cook brunch. It’s easier to make than dinner, especially for a crowd, and consists of lots of fridge and pantry staples you like already have on hand.

One such staple: oats. Add ‘em to banana bread, soak ‘em for overnight oats, or make baked oatmeal, an unfussy brunch dish that looks super impressive… it’s basically oatmeal that you bake and cut into squares.

I’m a sucker for anything peanut butter and jelly flavored, so this seemed like the perfect way to experiment with these flavors I love so much.

Here’s what you need to make PB&J Baked Oatmeal - makes 9 ½-cup servings:

  • 2 cups rolled oats (not quick-cook)

  • ½ cup unsweetened shredded coconut

  • 1 ½ tsp ground cinnamon

  • 1 tsp baking powder

  • ½ tsp salt

  • 2 cups almond milk

  • 1 egg

  • 2 TBS melted coconut oil + 1 heaping tsp for greasing baking dish

  • 2 tsp vanilla extract

  • Smooth peanut butter

  • Jam of your choice (I went with raspberry)

Preheat oven to 375 degrees F. Grease an 8x8” baking dish with coconut oil and set aside.

Mix dry ingredients - oats, coconut, cinnamon, baking powder and salt - in a large mixing bowl. Add in wet ingredients - milk, egg, coconut oil and vanilla - and use a whisk to thoroughly combine.

Pour oat mixture into the baking dish and tap dish gently on the counter to evenly distribute the oat mixture. Using a spoon, spoon 9 dollops of jam - about 1 tsp jam each - evenly on top of the oats (3 x 3). Then spoon 9 dollops of peanut butter - about 1 tsp peanut butter each - evenly on top of the oats and swirl together gently (see picture above for reference).

Bake for 35-40 minutes, until golden brown on top and the edges are a little crispy. Serve hot. If making in advance, cook for 30-35 minutes, and put back into a 350-375 degree oven for 5-10 minutes before ready to serve.

Serves 5-6 hungry brunch guests.

Comment

TAGS: ninaknowsfood, brunch, homemade, baked oatmeal, oatmeal, oats, howtoadultcookbook, dairy-free, sundays, weekends, gluten-free, recipedevelopment, healthy meals


September 22, 2019

Chocolate Chip Banana Bread

by Nina Z


fullsizeoutput_1e8a.jpeg

Banana bread is one of my all-time favorite treats. I like my banana bread to eat more like a cake, rather than bread - makes it feel so much more indulgent - and I hope you feel the same way.

And, it’s dairy-free and gluten-free.

AND, it’s been taste-tested and approved by hungry brunch friends.

ANNND, I’ve decided to add this to the cookbook. Yep, I’m that generous.

Here’s what you’ll need to make this chocolate chip banana bread:

  • 1/3 cup melted coconut oil + a little extra to grease bread tin

  • 1/4 cup maple syrup

  • 2 eggs

  • 3-4 medium-sized very ripe bananas, mashed

  • 1/4 cup almond milk (or milk of choice)

  • 1 tsp baking soda

  • 1 tsp vanilla extract

  • 1/2 tsp salt

  • 1/2 tsp cinnamon

  • 1 cup almond flour

  • 3/4 cup oat flour

  • 1/3 cup old-fashioned oats (not quick cook), plus more to sprinkle on top

  • 1/4-1/3 cup dark chocolate chips (or chocolate chips of your choice)

Preheat oven to 350 degrees F. Grease a bread tin with enough coconut oil to coat the entire tin, including the sides! I usually melt about a teaspoon of coconut oil, pour into the tin, and spread with a paper towel.

In a large bowl, whisk melted coconut oil and maple syrup until combined. Add eggs, and whisk again until combined. Add in bananas, milk, baking soda, vanilla, salt, and cinnamon, and whisk until completely combined.

Add almond and oat flours, as well as oats, and using a spatula, carefully fold mixture together until all ingredients are incorporated. Add in chocolate chips, and fold again with a spatula until the chips are dispersed throughout the mixture evenly.

Pour batter into the greased bread tin. Even out the top with the spatula and bang the tin (gently) on the counter a couple of times to release any air bubbles. Sprinkle the top with some extra oats.

Bake at 350F for 40-45 minutes, until the middle is set and a toothpick/knife dipped in comes out clean. The edges of the bread will brown before the middle, so don’t worry. Let bread cool slightly before taking out of the bread tin.

Comment

TAGS: ninaknowsfood, banana bread, healthytreat, dessert, breakfast, brunch, gluten-free, dairy-free, howtoadultcookbook, cookbook, baking


September 4, 2019

UPDATED: Spicy Beef Ragu

by Nina Z


fullsizeoutput_1e87.jpeg

Great recipes lend themselves to dishes that end up almost exactly the same each time. That’s my goal with the #howtoadultcookbook - to provide recipes that can be relied upon time and time again to create delicious meals.

In order to make that a reality, I’ve revisited every recipe in the book and made it again, and in the process, have adjusted some recipes, whether its ingredient amounts, cooking time, or cooking method(s). My hope is that you can depend on these recipes, while also making them your own in your own kitchens, in true #ninaknowsfood form.

Here’s the updated spicy ragu recipe:

  • 2 TBS olive oil (for cooking)

  • 2 large cloves garlic, finely diced

  • 1 large shallot, finely diced

  • 1 lb ground beef (80/20 or 90/10)

  • 1/2 TBS red chili flakes

  • 2 tsp whole fennel seeds

  • 2 tsp ground Italian seasoning

  • 1 tsp ground smoked paprika

  • 1/4 cup white wine of your choice

  • 1 14oz can unseasoned diced tomatoes

  • 1/4 cup water

  • Salt & pepper to taste

  • 1/2 cup frozen peas

In a large sauté pan over low-medium heat, heat olive oil until shimmering. Add garlic and shallot, and cook until softened, about 2-3 minutes.

Add ground beef and cook until just browned. As meat is browning, add in red chili flakes, fennel seeds, Italian seasoning, and s&p. Stir to combine. If there's a lot of fat in the pan, remove with a spoon.

Once beef is browned, add in white wine and let liquid reduce by half. Once liquid reduces, add in diced tomatoes and water. Stir to combine completely.

Lower heat to low, cover, and allow ragu to simmer for 20 minutes.

When done simmering, turn off heat and take the pan off the hot burner. Add in frozen peas and stir to combine. The peas will thaw almost immediately.

Serve hot or let ragu cool completely before storing in the fridge or freezer.

Comment

TAGS: ninaknowsfood, howtoadultcookbook, cookbook, weeknightmeals, mealprep, meal prep, healthy meals, pasta, dinner


August 21, 2019

Grab & Go Protein Balls

by Nina Z


fullsizeoutput_1e7d.jpeg

All of us prioritize the time in our days differently. Whether you make time for meals or not, these little guys most definitely have a place somewhere in your day. They can be breakfast on-the-go (PERFECT for after that morning spin or yoga class) or they can be a mid-afternoon snack when you’re feeling snack-y. Or both, I’m not judging. In fact, I’ll be so proud of you for getting some healthy fiber and protein into your day.

Protein Balls*:

  • 1 large banana, mashed

  • 1/3 cup peanut butter

  • 3/4 cup rolled oats (not quick cook)

  • 1 TBS hemp seeds

  • 1 TBS chia seeds

  • 1 TBS dried goji berries

  • 1 TBS mini chocolate chips

  • 1 TBS maple syrup

  • 1/2 tsp cinnamon

  • 1/4 tsp salt

  • 1/2 cup + 1 TBS unsweetened coconut flakes, separated

Method:

On a large plate, pour 1/2 cup coconut flakes and shake carefully to make an even layer. Set aside.

In a large mixing bowl, combine all ingredients, and mix with a large spoon or spatula to thoroughly combine. Refrigerate mixture for 10 minutes to let it set.

Using a 1 TBS measure, scoop and roll mixture gently in your hands to create each ball, and roll in coconut flakes until evenly coated. Repeat, and line balls on a cookie sheet. When done, refrigerate balls for 15 minutes.

You can eat right away, or you can pack them away in the refrigerator or freezer. They’ll keep in the fridge 2-3 days, and you can store in the freezer for 1-2 weeks.

*This recipe was developed in partnership with Ilana Broad.

1 Comment

TAGS: howtoadultcookbook, snack, meal prep, mealprep, healthytreat, protein balls, ninaknowsfood, gluten-free, dairy-free, plant-based


August 8, 2019

UPDATED: Tempeh Stir Fry, Scallion Pancakes & Peanut Ginger Sauce

by Nina Z


fullsizeoutput_1e67.jpeg

I’ve been thinking about these dishes since I posted them back in April because I wanted to be able to provide fully written out recipes, not just links to show you where my inspiration came from! I’ll definitely still do that, as I often find inspo from Instagram and the NYT Cooking section, but one of my goals with this blog is to be able to provide simpler, healthier versions of those dishes.

So, this post is just that. I revisited these dishes and made tweaks that I think will really help! I switched from using tofu to tempeh because I find tempeh easier to prepare & cook, and it’s also fermented soy, which my body handles better.

Also, this peanut sauce… you won’t be able to stop yourself from just eating it with a spoon and nothing else.

fullsizeoutput_1e62.jpeg

Scallion Pancakes:

  • 2 large eggs

  • 1/2 cup milk of your choice (if using nut milk, use unsweetened/unflavored)

  • 1 TBS low-sodium soy sauce or shoyu

  • 1 inch piece fresh ginger, chopped finely

  • 1 1/4 cup almond flour (or flour of choice)

  • 1/4 tsp baking powder

  • 1/2-1 bunch scallions, chopped (if you love scallions like me, you’ll use entire bunch!)

  • 1-2 TBS coconut oil, for cooking

Method for Scallion Pancakes:

Whisk eggs, milk, soy sauce and ginger together in a large mixing bowl. Add in flour, baking powder and scallions, and mix with a spatula until thoroughly combined.

Heat skillet over medium heat, and melt 1 TBS coconut oil to start. Using a 1/3 cup measure, scoop pancake batter onto skillet. Cook for 2-3 minutes on one side, and flip. You’ll know when it’s ready to flip because little bubbles will form on the edges of the pancakes. Repeat, and remove pancakes from skillet once cooked all the way through.

You may need to re-grease the pan, if your stovetop gets really hot, really quickly like mine does, so that’s why I included the extra 1 TBS of coconut oil in the ingredients.If you’re using 1/3 cup measure, you’ll be able to make 6-7 large pancakes. Totally up to you, but using a measuring cup ensures the same sized pancake every time!

Set aside with foil lightly covering until you’re ready to serve dinner.


Peanut Sauce (inspired by NYTCooking):

  • 3 TBS creamy peanut butter

  • 1 TBS rice wine vinegar

  • 3 tsp low-sodium soy sauce or shoyu

  • 3 tsp maple syrup

  • 1 tsp ground ginger

  • 1/4-1/3 cup water

  • 1 tsp Sriracha (optional)

Method for Peanut Sauce:

In a small mixing bowl, pour in peanut butter, vinegar, soy sauce, maple syrup, ground ginger, and optional Sriracha. Add in a little of the water, mix slowly with a spoon, and continue to add water until desired consistency, which should be thick but pourable. This makes enough to serve 2, with some for leftovers!

Set aside until you’re ready to serve.


Tempeh Stir Fry:

  • 1 package tempeh, cut into bite-size pieces

  • 1 package frozen stir fry veggies, thawed a little bit

  • 1 TBS sesame seeds

  • Salt to taste

  • 2 TBS coconut oil, for cooking

Method for Stir Fry:

In a large pan, heat coconut oil over medium heat.

Add tempeh to pan, and cook to brown on all sides, about 8-10 minutes. Add in veggies, sesame seeds and salt, and toss. Cook everything together for another 5-7 minutes, until veggies are cooked and a little browned. Depending on how hot your stovetop gets, this could take longer.

Serve stir fry, pancakes and peanut sauce together and enjoy a healthified takeout meal!

Comment

TAGS: ninaknowsfood, dinner, healthy meals, weekdaymeals, weeknightmeals, gluten-free, dairy-free, mealprep, meal prep, takeout, healthy takeout, grain-free


August 5, 2019

Better-Than-Ever Avocado Brownies

by Nina Z


fullsizeoutput_1e5f.jpeg

As the #howtoadult cookbook slowly comes to life, I’ve been revisiting my recipes. Not only do they need to be delicious, but they need to be simple - no special ingredients you have to run to 3 different stores for, no complicated equipment, no fuss.

These brownies were an obvious shoe-in. If you’ve been following along over the years, you know I love taking traditional dishes, from dinners to desserts, to the healthier end of the spectrum. I also tend to keep my recipes dairy-free, and as of recently, many of my recipes are gluten-free to accommodate those who are gluten-sensitive.

While the original recipe is great, why not try to improve it? I was able to reduce the amount of sugar and provide a gluten-free option without sacrificing taste nor that fudge-y texture we all know and love in traditional brownies.

These brownies use avocado as the primary source of fat (instead of butter), dark chocolate and maple syrup for sweetness (instead of refined sugar), ingredients you can find in any grocery store, and best yet, you only need one large mixing bowl.

Here’s what you’ll need to make my improved Avocado Brownies:

  • 1 large avocado, mashed

  • 1 3.5-oz bar of dark chocolate (preferably 70% cacao or higher), melted

  • 2 eggs

  • 1 tsp vanilla

  • 1/3 cup maple syrup

  • 1/3 cup oat flour (or flour of your choice; oat flour is preferred & not difficult to find)

  • 1/4 cup cocoa

  • 1/2 tsp baking powder

  • 1/2 tsp salt

  • 2 tsp coconut oil, melted, for baking pan

Method:

Preheat oven to 350 degrees F.

In large mixing bowl, mash avocado and add in melted chocolate, eggs, vanilla and maple syrup. Whisk until completely combined - you may still see some avocado pieces and that’s OK.

In the same bowl, add in flour, cocoa, baking powder and salt. Using a spatula, mix slowly to prevent flour and cocoa from escaping the bowl. The mixture will be thick. Make sure you scrape all flour and cocoa off the sides of the bowl so the mixture is thoroughly combined.

In an 8x8 baking dish, pour coconut oil and spread evenly around the dish with a paper towel, including the sides. Pour in batter and spread evenly. Bake for 25-30 minutes, or until the middle is set. You can test with a toothpick to make sure it comes out clean.

fullsizeoutput_1e5e.jpeg
1 Comment

TAGS: ninaknowsfood, brownies, healthytreat, dessert, recipedevelopment, gluten-free, dairy-free


April 25, 2019

For My Plant-Based Friends: Scallion Pancakes & Tofu Stir Fry

by Nina Z


IMG-0327.jpg
IMG-0327.jpg

I like to say that the first thing I learned how to cook was pancakes. Not from scratch, but from the box, adding an egg, some milk, some oil. I was mesmerized at how they’d puff up on the skillet, and what a work of art it was to flip one without any splatter.

I also like to say that the first “real” thing I learned how to cook was stir fry. I was in middle school, and not in my own kitchen but a friend’s, we’d cube up tofu, chop some green peppers and onions, cook it in some oil, and then douse our stir fry with teriyaki sauce. While I have fond memories of this dish, I’ve since learned that there are many other ways to make stir fry… perhaps a bit healthier without the bottled teriyaki sauce, but I’m inclined to say that I wouldn’t be where I am today without this original dish.

It’s fitting that two of my “firsts” in the kitchen, and some of my favorites, come together for this super quick weeknight meal that also utilizes freezer ingredients and really, anything you have on hand that may be going bad soon.

See new post for updated scallion pancake recipe!

Here’s what you’ll need to make Tofu Stir Fry with Peanut Ginger Sauce:
Makes ~4 servings (you know I love me some leftovers)

Stir Fry:

  • 1 package firm tofu, drained completely & cubed

  • Literally any vegetables you want… my favorites include broccoli, bell pepper, onion, mushrooms, and snap peas. I buy bags of frozen stir fry mix to make this SUPER easy, but you can also use any vegetables in your fridge that may be going bad, or if you have any frozen vegetable, that works too. Seriously, the possibilities are endless and I’m really not here to tell you what veggies work in a stir fry because I just want you eat your veggies…

  • 1-2 TBS coconut oil, or another high-heat oil such as avocado oil. Stir fry is meant to be cooked over high heat, very quickly, so you want to choose an oil with a high smoke point, meaning it can be heated to a high temperature without smoking and burning off.


See new post for updated peanut sauce recipe!


Method:

In a large skillet over medium heat, heat oil until shiny. Drop in tofu and cook to your liking - it can be totally browned on all sides or it can be slightly browned. Add veggies and cook together until veggies are cooked through - ideally, they should be fork-tender. This should take about 10 minutes or so!

Serve alongside scallion pancakes and fresh peanut ginger sauce (I could eat this by the spoonful).

Comment

TAGS: ninaknowsfood, weekdaymeals, weeknightmeals, pancakes, healthy meals, meal prep, mealprep, recipedevelopment, plant-based, vegetarian, dairy-free, meat-free, leftovers, summer


March 11, 2019

How To Make Meal Prep Not Suck

by Nina Z


B734D76D-1C62-40EF-B6CE-E80F83FA5BDD.JPG

A friend and I were recently talking about how we feel like all we do at the backend of the week is grocery shop, cook, and clean. We were swapping stories over how often we clean our bathrooms and how we feel like our food never lasts long enough in the fridge.

This concept of “adulting,” made popular by millenials, can be cheeky and used to poke fun at my generation that feels personally victimized by simple life responsibilities. However, if you haven’t read this article about millennial burnout yet, go read that and come back to this after.

With that being said, I’m all “how-to-adult” in the best way possible, always thinking about I can maximize my time and effort. While I love to cook and have learned to find joy in the mise en place-ing of it all, it’s taken time to get here. However, I’m confident that I can inspire at least one person reading this post to shift how they think about meal prepping.

Let me back up and answer the question, why meal prep? At the most basic level, it takes the thought out of what you’re going to have for breakfast/lunch/dinner during the week, so you can focus on other important things: your partner, your job, your side hustle, your friends, your family.

It can save you money. Let’s do some quick math: if your sweetgreen salad costs $15, and you’re getting that salad for lunch every day, that’s $75/week. I spent $60 on my grocery shop this week (a lighter week, as I wasn’t stocking up on a lot of pantry staples), and it went into lunches and dinners for at least 4 days this week, plus some meals for the freezer, plus some fresh produce, as well as a few canned items that I will use for future dishes. That nets to less than $8/meal this week!

It can make you healthier. Meal prepping allows you to know exactly what’s going into your food and how it’s being prepared. This is game-changing. You can control the amount of oil, the amount of salt, adding everything you want and leaving out everything you don’t. Eating whole foods and a variety of these whole foods is key, and something I strive for during my meal prep.

OK, so what can you do to take the dread out of meal prep?

  1. It sounds simple, but, plan ahead - do your recipe research during the week! I love the NYT Cooking app and Instagram to find inspiration

    • Look for recipes that require one pot, which will always save time

    • Look for recipes that require stewing/simmering, which means you’ll be able to walk away while your dishes are cooking

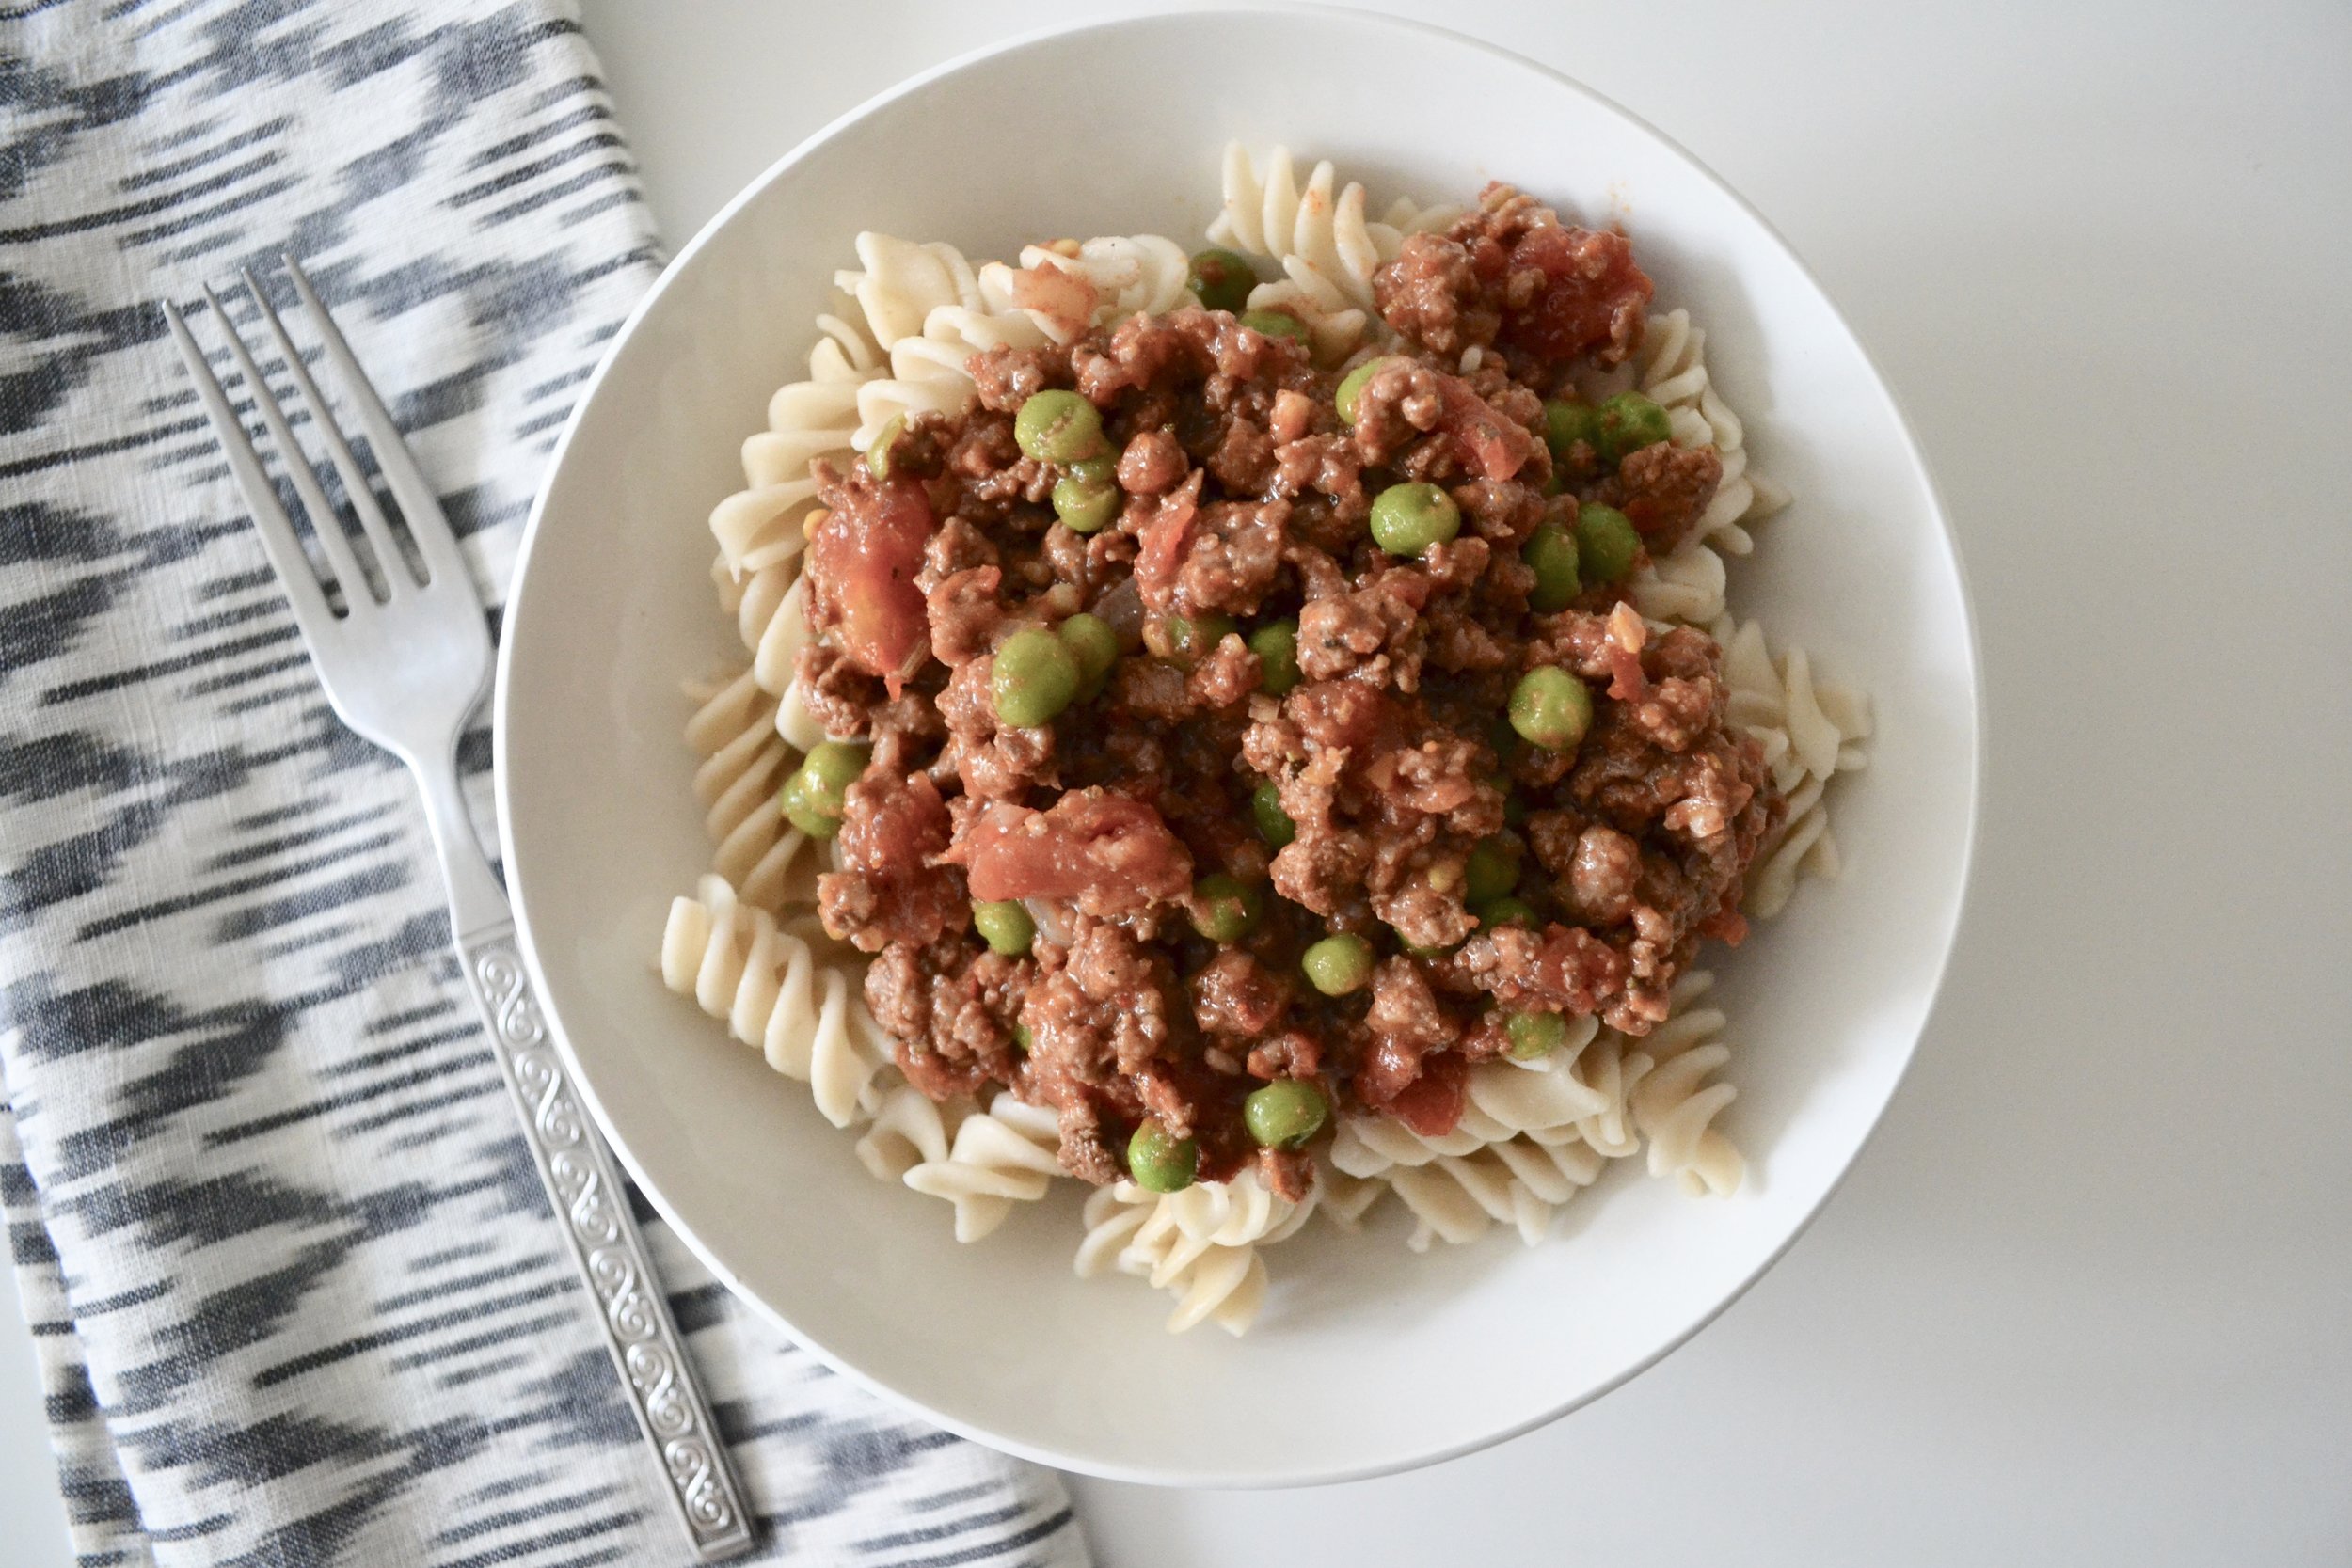
    • I like to choose two recipes that require a lot of the same ingredients, but are different enough so that I won’t get bored during the week(s) of eating the same thing, e.g. my personal favorites right now: spiced chickpea stew and coconut curry lentil stew

    • Plan to freeze at least one or two containers of whatever you make so that your freezer will have a variety of items to choose from on weeks where you’re traveling or otherwise don’t have time to meal prep

  2. Make a very detailed grocery list - even down to the ounces or cups of dry ingredients you’ll need. You can buy in the bulk section of the grocery store to save money, not buy more than you actually need, and will save time during cooking as you’ll have the exact amount ready to go

  3. Spread your grocery shopping out over more than one day - avoid the Sunday scaries! You can buy canned goods on Saturday on your way back from yoga, and grab fresh ingredients on Sunday after brunch with friends… less time in the store each time, less to carry each time

  4. Prepare your storage containers ahead of time - make sure you have enough to hold all of your delicious meal prep. Have them out and ready when you’re done cooking!

    • Label ahead of time, if you’re going to freeze some for later - I like to put the date it was frozen and what’s in the container

  5. On your meal prep day of choice, spend time doing your “mise en place,” which means prep all of your ingredients before you start cooking

    • May sound counterintuitive to spend more time before you get started, but it will ultimately 1) save time during the actual cooking process, and 2) allow you to focus on your recipe in the moment

  6. Clean up as much as possible while your dish(es) are cooking

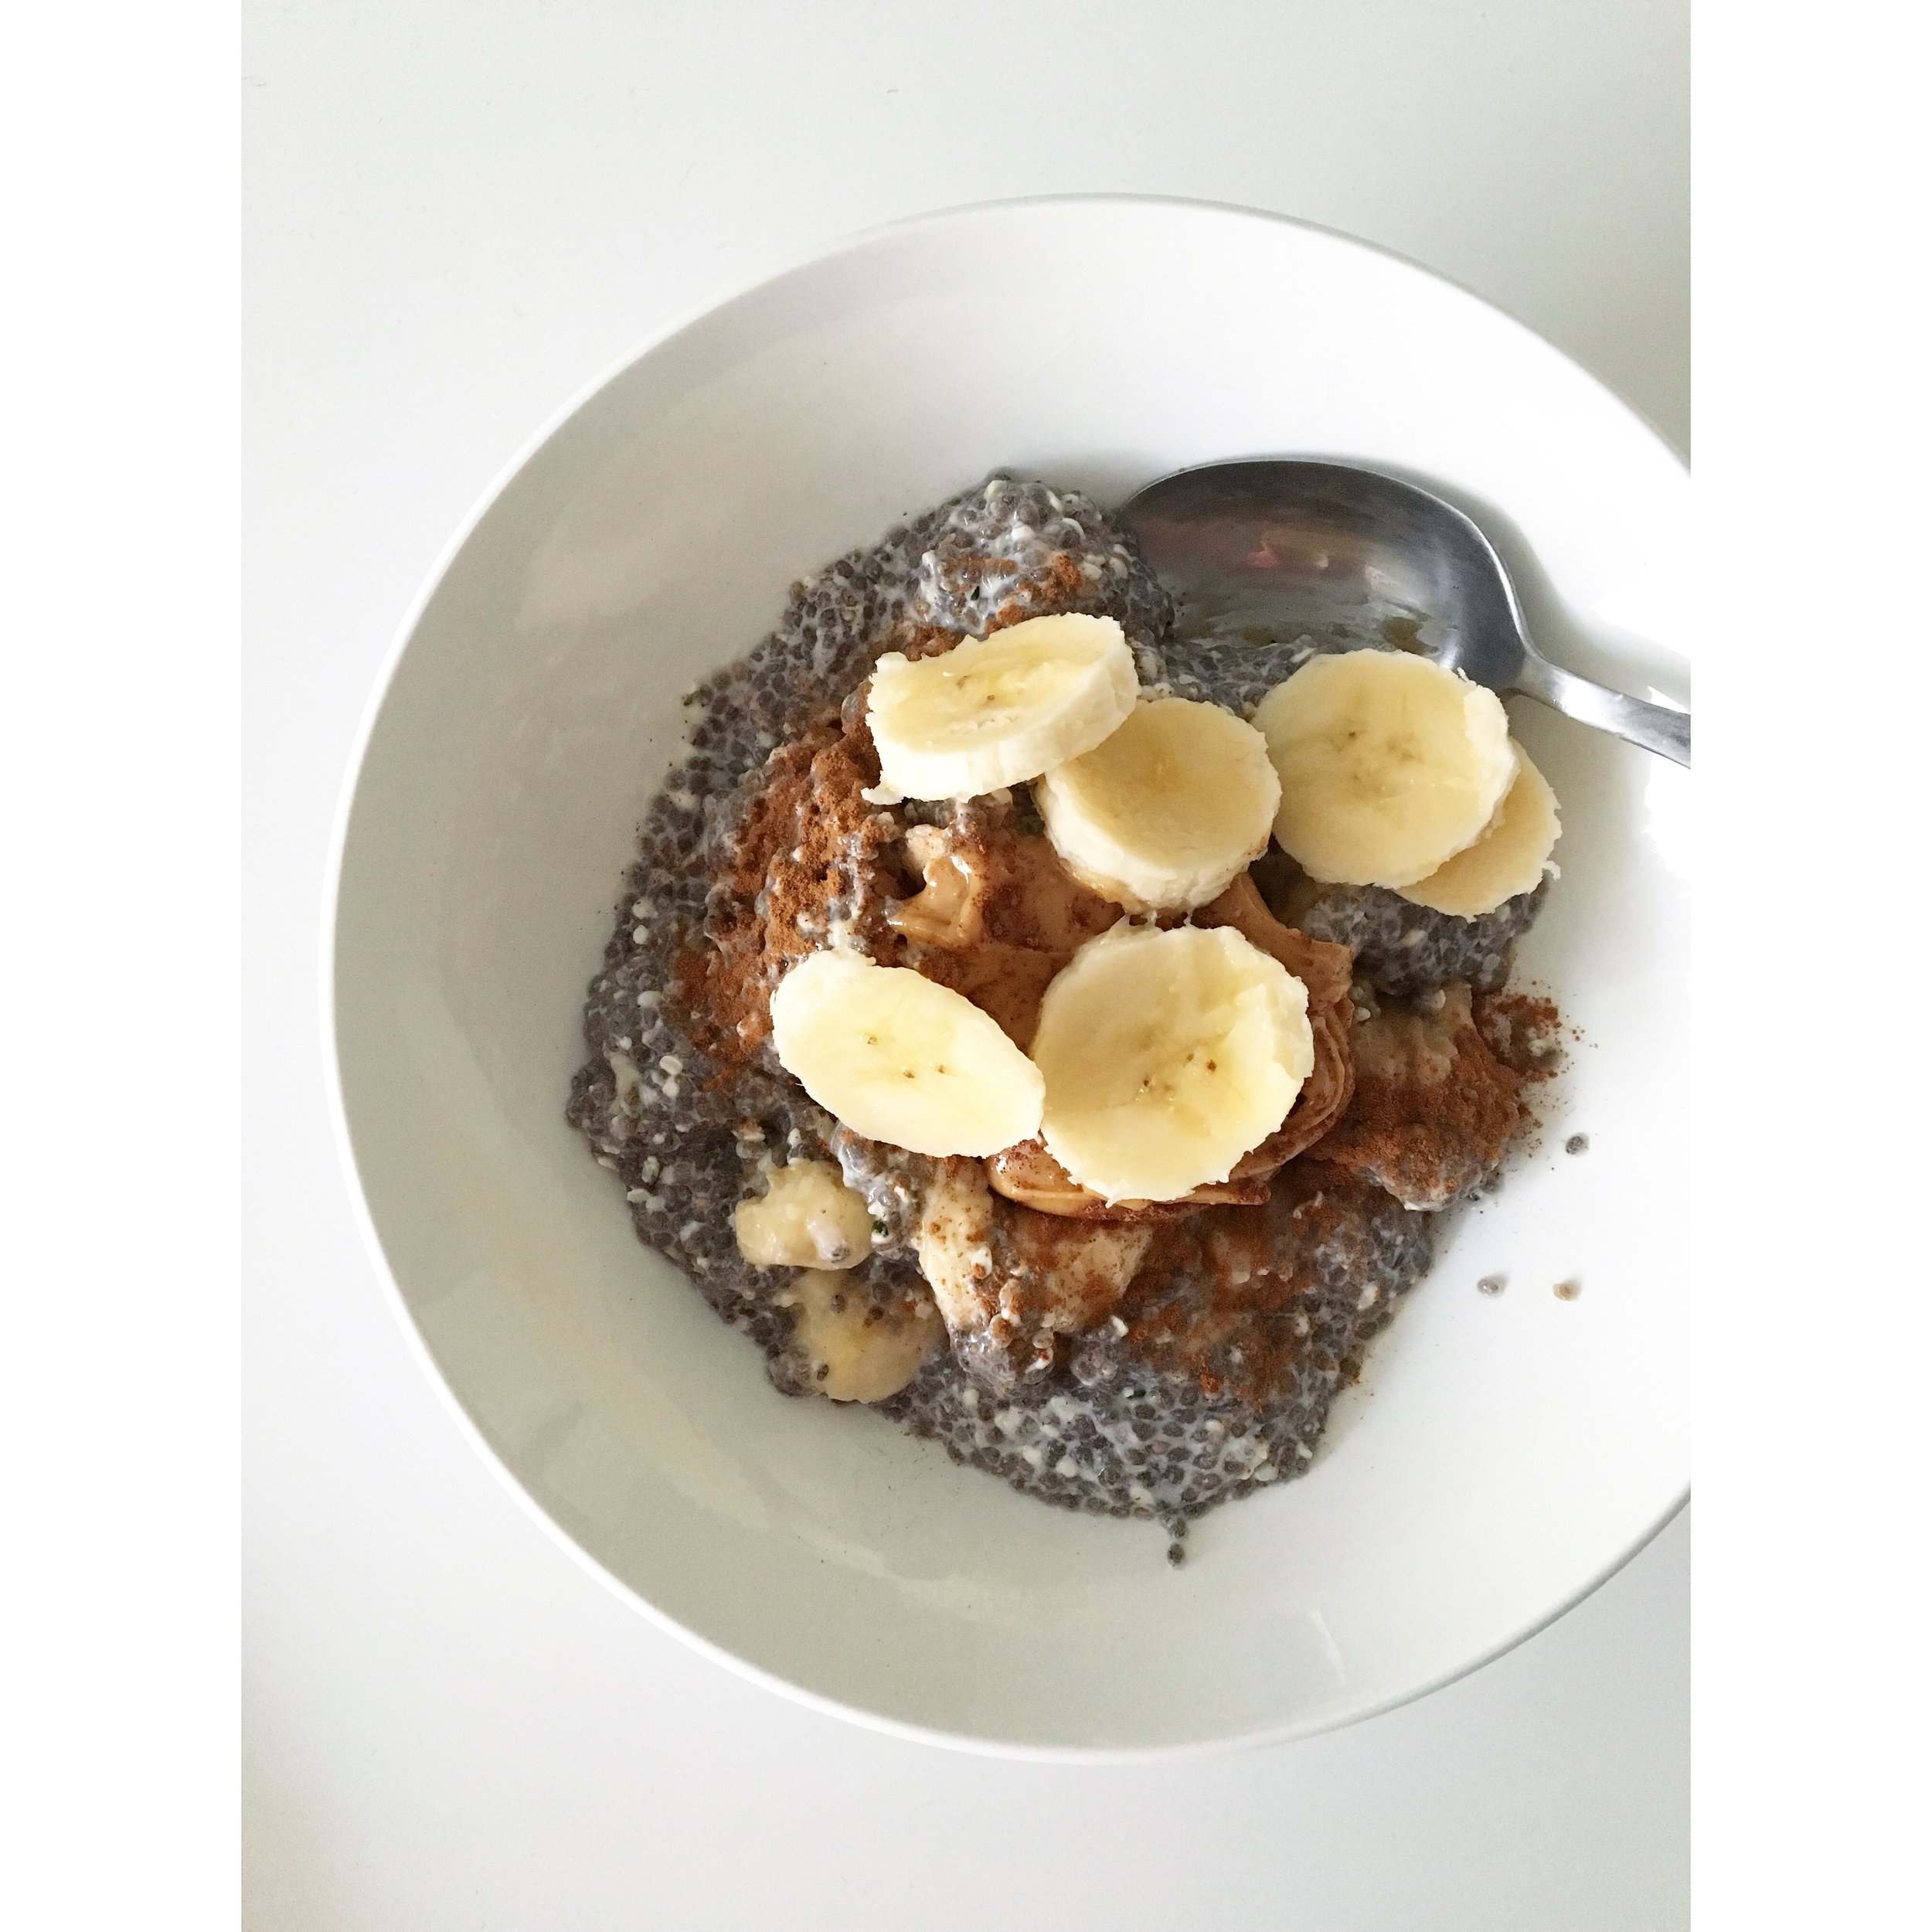
  7. Meal prep isn’t just for dinner - expand your horizons and prep breakfast, too! I love making chia seed pudding (recipe below) for a grab-and-go nutrient packed breakfast for after a morning workout

  8. Shift your mindset - aside from all the physical prep you’re doing, do some emotional prep. Think, “I’m doing this because I have respect for my time this week, and I want to create delicious, healthy meals that will make me feel great inside & out.”

  9. Invite a helping hand - this will save time prepping your ingredients, plus it goes along with shifting your mindset to make meal prep into a desired activity rather than a chore

Chia Seed Pudding (1 Grab & Go Serving)

  • 3 TBS chia seeds

  • 1/3 - 1/2 cup milk of your choice (less milk = more thick pudding)

  • Mason jar with lid

  • Toppings of your choice - sliced banana, peanut butter, cinnamon

Pour chia seeds and milk into the mason jar, and secure lid. Shake until chia seeds are thoroughly shaken up with milk. Take off lid, add toppings of choice, re-seal lid and keep in fridge overnight.

Comment

TAGS: mealprep, meal prep, breakfast, lunch, dinner, cooking, howtoadultcookbook, chia seed pudding, ninaknowsfood


July 12, 2018

Fiesta Tempeh Wraps (The Runner Up!)

by Nina Z


IMG-8841.jpg
IMG-8841.jpg

Remember that Instagram poll from last weekend? No? That's OK. I was having some serious takeout cravings but decided to take to the kitchen instead! The beef lettuce wraps won (see the previous post for those delightfully colorful morsels) but I want to help out my non-meat-eaters too!

Here's what you'll need to make my fiesta tempeh wraps [makes enough for a single meal & lots of leftovers!]:

Fillings:

  • 2 TBS olive oil (split; for the pan)
  • 1/2 red onion, chopped
  • 2 small zucchini squash, chopped
  • 1 clove garlic, diced finely
  • 1 tsp cumin, split
  • 1 tsp smoked paprika, split
  • Salt to taste
  • 1 8-ounce package unseasoned tempeh, sliced into 1/2-inch thick pieces (see picture for reference)
  • Refried black beans (I bought a 15-ounce can refried black beans and what I didn't use, I put into tupperware for meals during the week)

Toppings:

  • Sliced radish
  • Sliced avocado
  • Chopped cilantro
  • Sliced lime

Wraps:

  • Any kind you want! I used 2 Siete almond flour wraps per meal—you can find these at Whole Foods or small health food stores

Method:

In a large skillet or sauté pan over low-medium heat, heat 1 TBS olive oil. Add red onion, zucchini, garlic, 1/2 tsp cumin, 1/2 tsp paprika, and salt. Cook until the onion and zucchini are soft, about 5-7 minutes, depending on the strength of your burner. When the onion and zucchini mixture is cooked (soft and almost caramelized), transfer into a bowl and set aside. This makes about 1 1/2 cups cooked zucchini.

With the pan still over low-medium heat, add the remaining 1 TBS olive oil to the pan. Place tempeh slices in the pan, close to each other but not touching. If it doesn't all fit, no worries, you can repeat the cooking process with remaining tempeh.

Cook on one side for 3-4 minutes until browned, then with a pair of tongs, flip each slice over and cook on the other side for 3-4 minutes until browned. Add remaining 1/2 tsp each of cumin and smoked paprika, and salt to taste. When tempeh is browned on both sides, transfer to a plate and set aside. 

Now it's time to prepare the wraps! Place two wraps on a plate. Spread 1 TBS refried black beans on each wrap, leaving room around the edges. Add as much or as little zucchini mixture on to the wraps as you want, or you can have it on the side. Add 2-3 slices of tempeh to each wrap, and top with sliced radish, avocado, and cilantro. Squeeze wedge of lime over wraps to finish them off!

What's awesome about these wraps is having all of these different components that you can use to make different meals... try breakfast-for-dinner wraps with refried black beans, scrambled eggs, and zucchini; or a deconstructed taco salad with sliced tempeh, refried black beans, avocado, and radishes served over greens. The possibilities really are endless!

Comment

TAGS: ninaknowsfood, plant-based, vegan, dinner, healthy meals, meal prep, weeknightmeals, weekdaymeals, recipetesting, recipedevelopment, howtoadultcookbook, takeout


  • Newer
  • Older

Powered by Squarespace 6